Create a complete Machine learning web application using React and Flask
I have always wanted to develop a complete Machine learning application where I would have a UI to feed in some inputs and the Machine learning model to predict on those values. Last week, I did just that. In the process, I created an easy to use template in React and Flask, that anyone can modify to create their own application in a matter of minutes.
Highlights of the project:
- The front-end is developed in React and would include a single page with a form to submit the input values
- The back-end is developed in Flask which exposes prediction endpoints to predict using a trained classifier and send the result back to the front-end for easy consumption
The GitHub repo is below. Fork the project and create your own application today!
Template
React
React is a JavaScript library created by Facebook to help make working with User interfaces simple and easy to develop and use. It’s one of the leading languages for front-end development. You can read about it here. The best resource to learn about React is its documentation itself which is very comprehensive and easy to grasp.
Flask and Flask-RESTPlus
Flask and Flask-RESTPlus allow us to define a service in Python which will have endpoints which we can call from the UI. You can learn more about developing a Flask app from my article below.
Description
I used create-react-app to create a basic React app to begin with. Next, I loaded bootstrap which allows us to create responsive websites for each screen size. I updated the App.js file to add a form with dropdowns and Predict and Reset Prediction buttons. I added each form property to state and on pressing the Predict button, I send the data to the Flask backend. I also updated the App.css file to add style to the page.
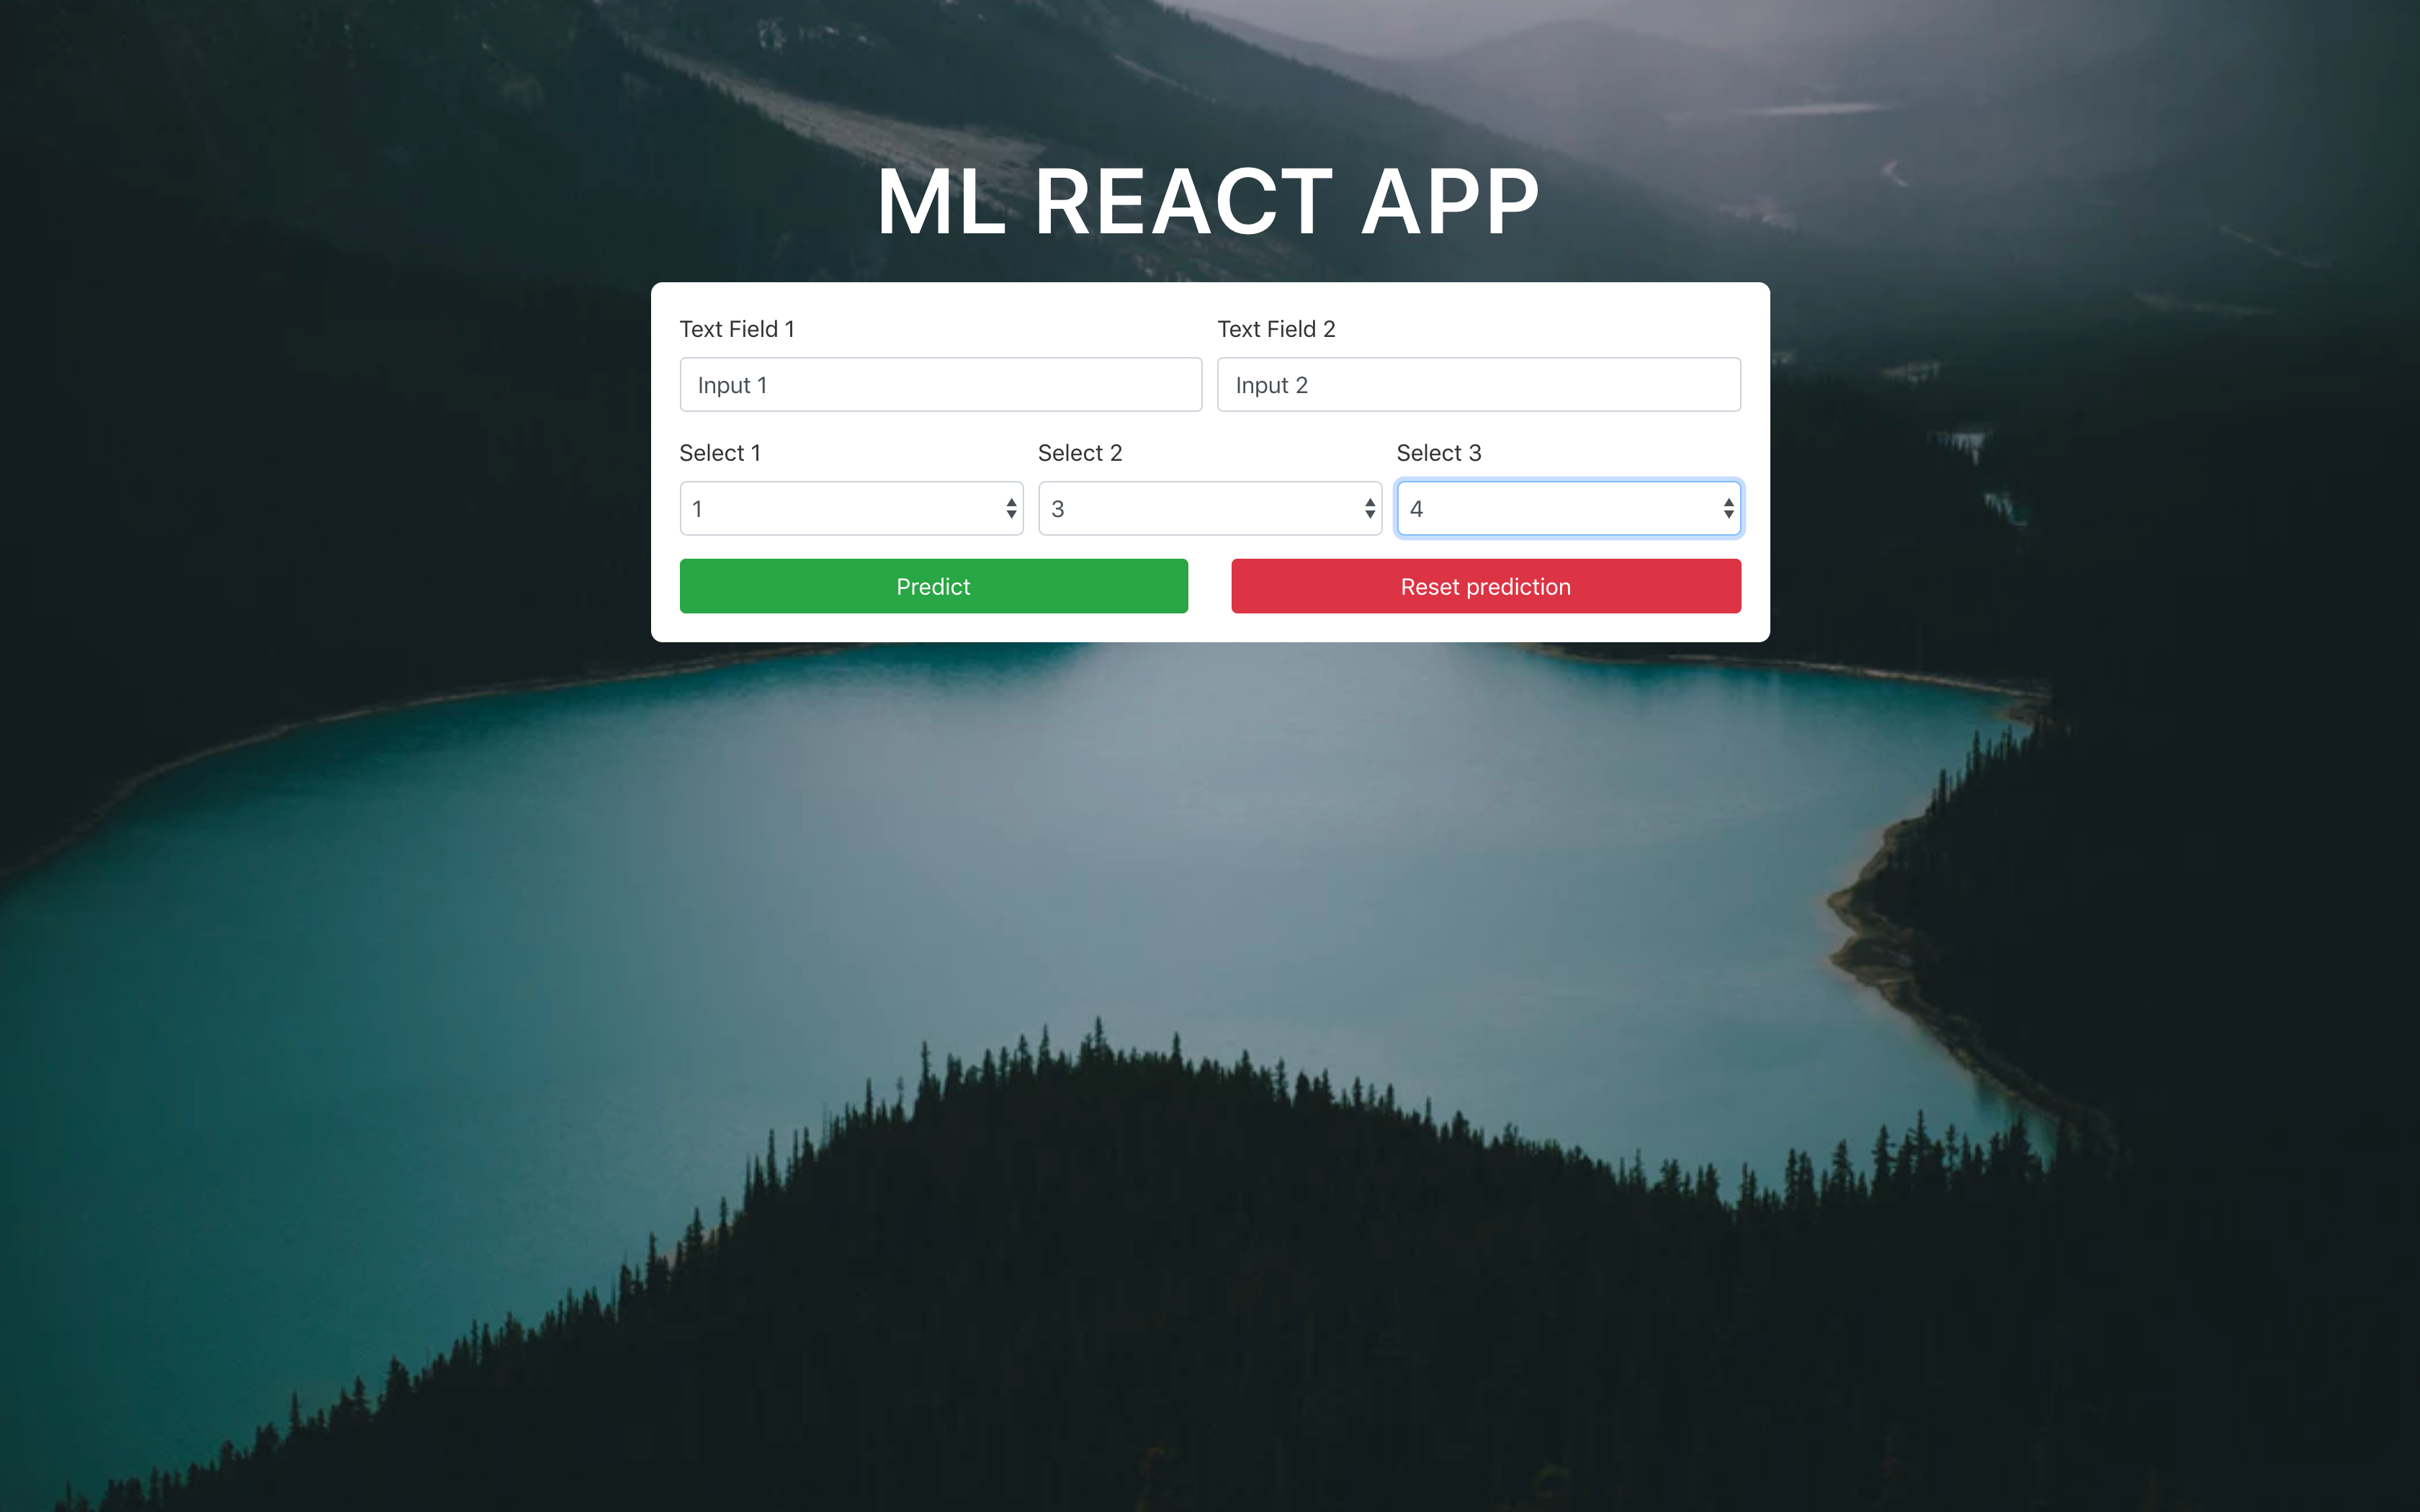
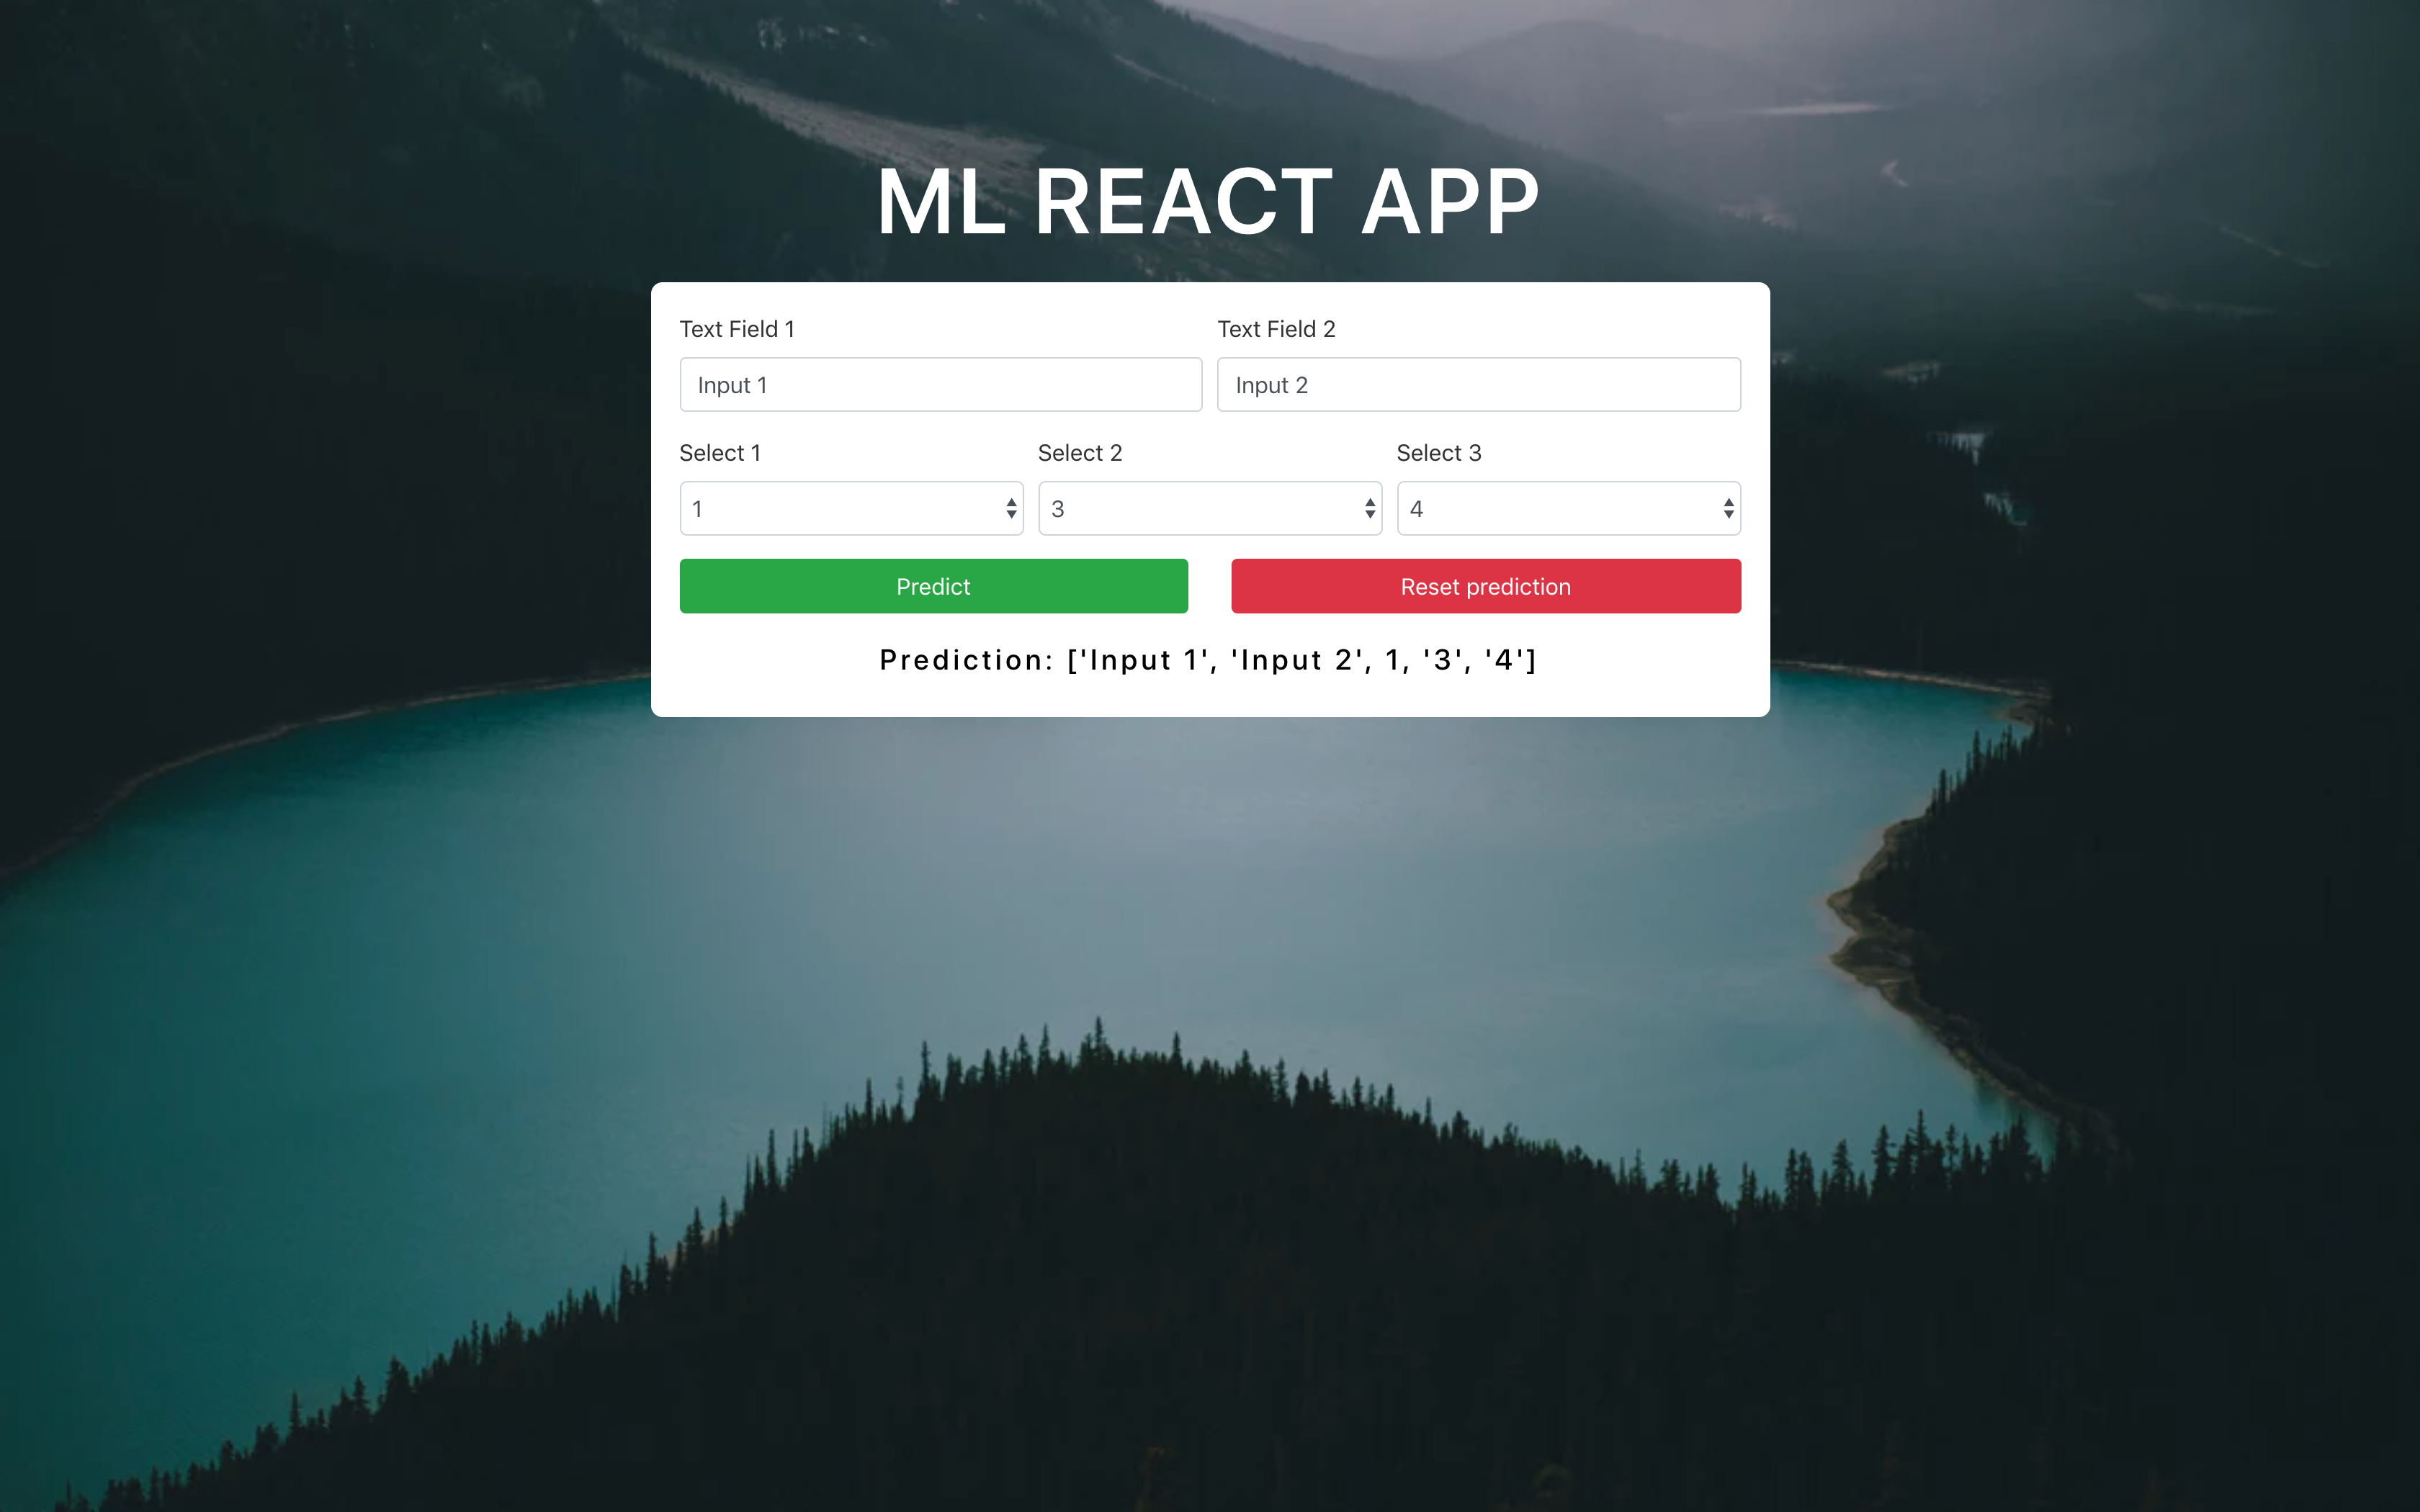
Starting the template
Clone the repo to your computer and go inside it and open two terminals here.
Preparing the UI
In the first terminal, go inside the ui folder using cd ui. Make sure you are using the node version 10.4.1. Once inside the folder, run the command yarn install to install all dependencies.
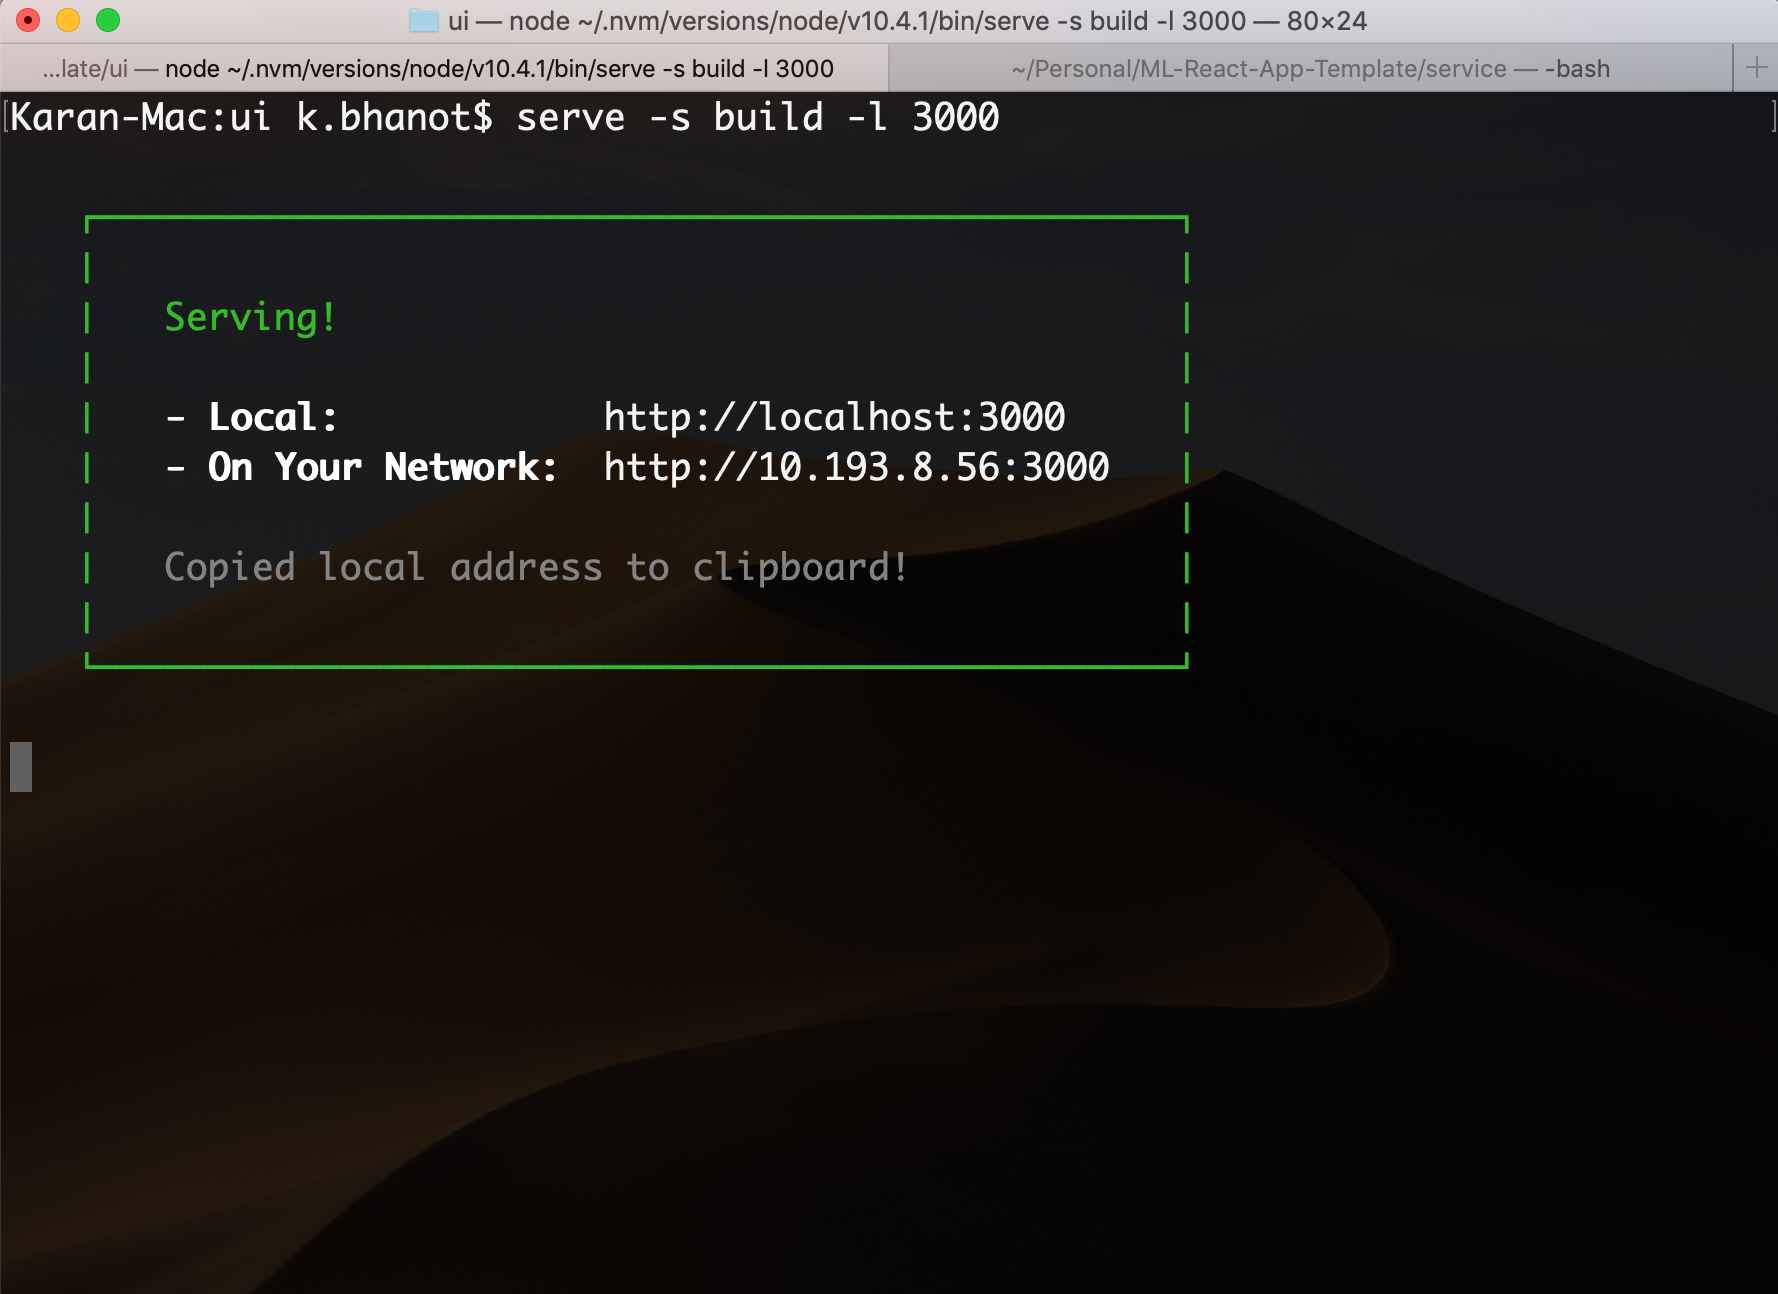
To run the UI on server, we will use serve. We will begin by installing the serve globally, post which, we’ll build our application and then finally run the UI using serve on port 3000.
npm install -g serve
npm run build
serve -s build -l 3000
You can now go to localhost:3000 to see that the UI is up and running. But it won’t interact with the Flask service which is still not up. So, let’s do that.
Preparing the service
On the second terminal, move inside the service folder using cd service. We begin by creating a virtual environment using virtualenv and Python 3. You can read about virtualenv here. We will then install all the required dependencies using pip after activating the environment. Finally, we’ll run the Flask app.
virtualenv -p Python3 .
source bin/activate
pip install -r requirements.txt
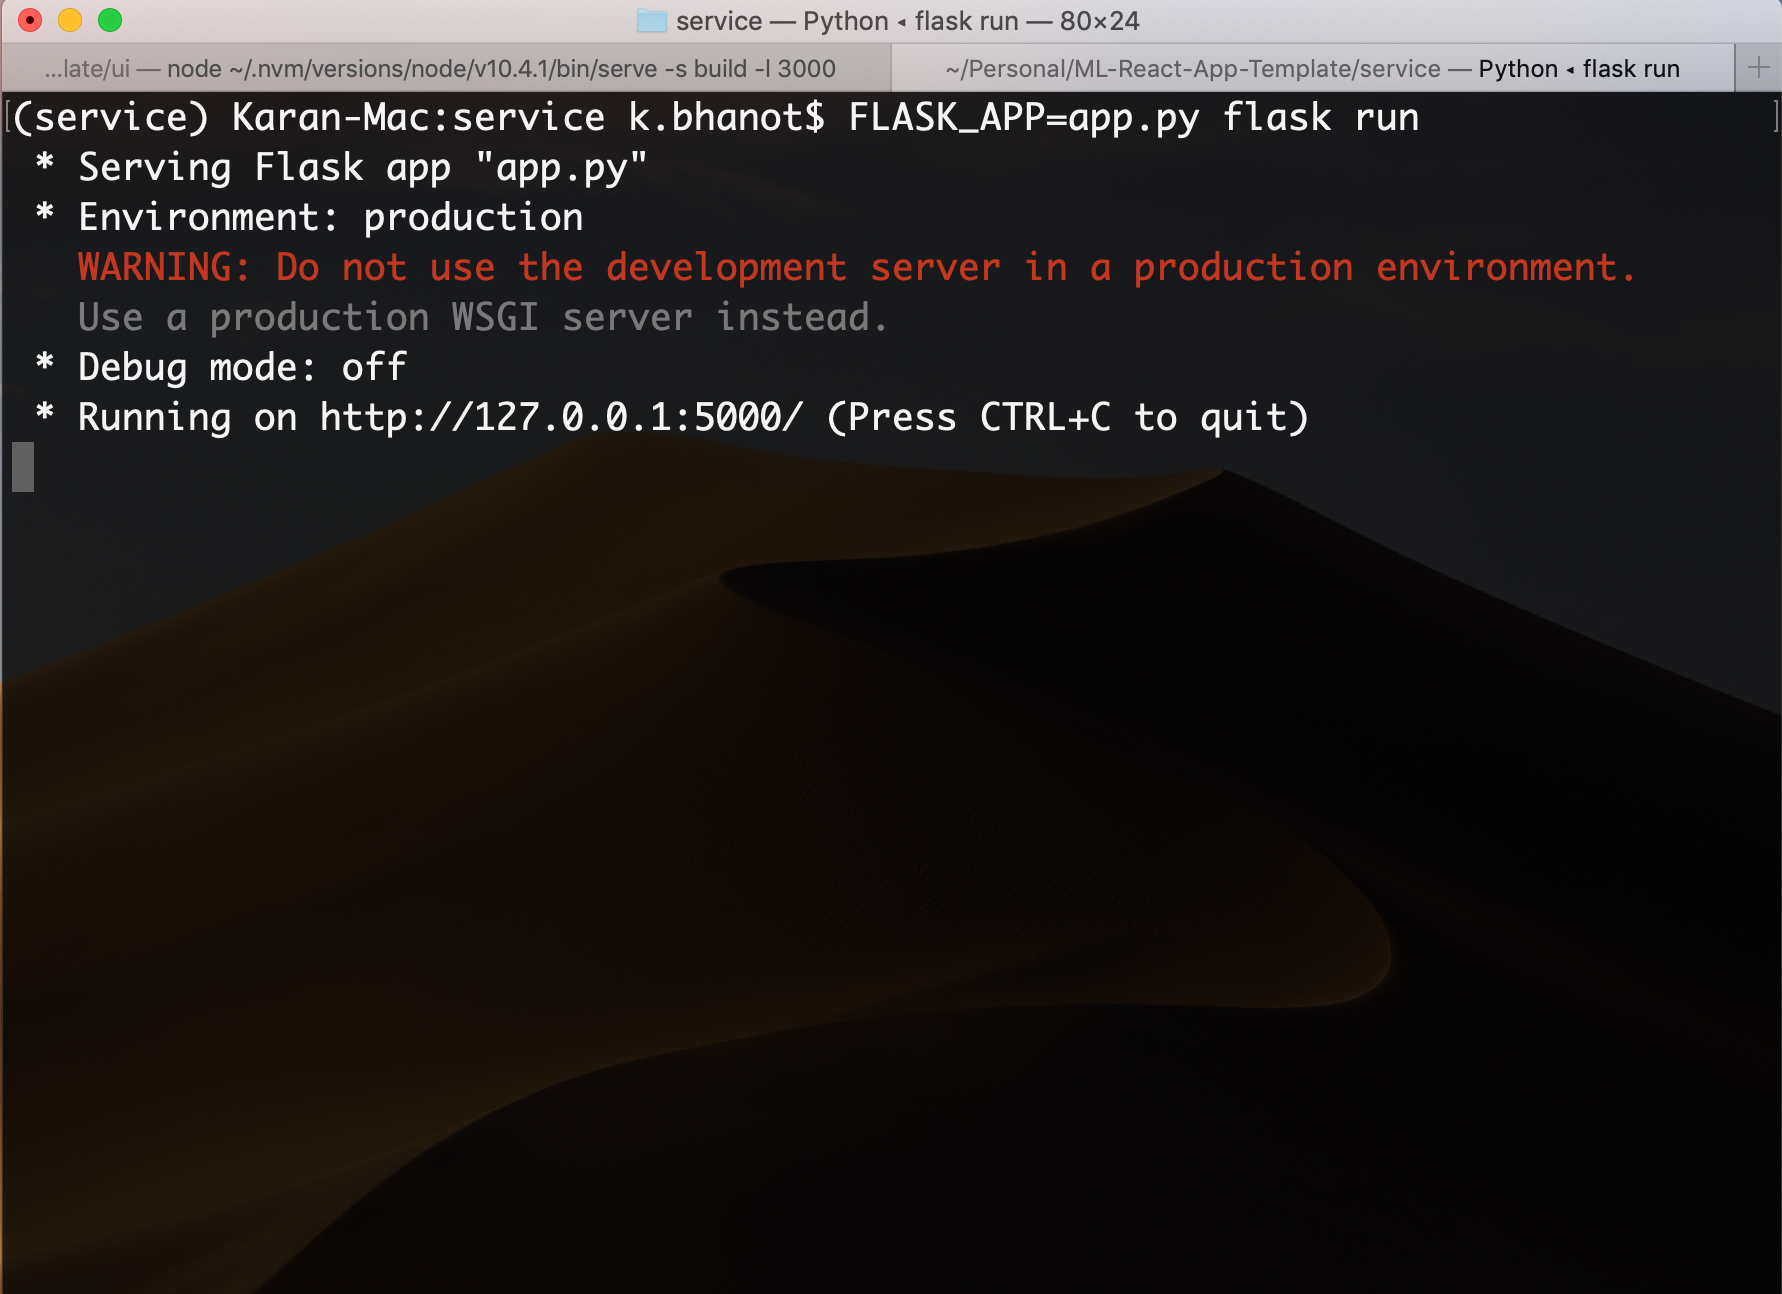
FLASK_APP=app.py flask run
This will start up the service on 127.0.0.1:5000.
Voila! The complete application will now be working properly. Yaay!!
Using the template for own use case
To understand the process of using the template for any model, I’ll use the iris dataset and create a model for the same. This example is also available in the example folder in the project.
Create the model
I trained a DecisionTreeClassifier on the iris dataset which requires 4 features — Sepal Length, Sepal Width, Petal Length and Petal Width. Then, I saved the model to classifier.joblib using joblib.dump(). The classifier can now be used to predict on new data.
Update the service
Next, I opened the file app.py in a text editor (Sublime Text is one). I uncommented the line classifier = joblib.load(‘classifier.joblib’) so that the variable classifier now holds the trained model.
In the post method, I made the following updates:
prediction = classifier.predict(np.array(data).reshape(1, -1))
 | types = { 0: "Iris Setosa", 1: "Iris Versicolour ", 2: "Iris Virginica"}
 | response = jsonify({
 | 				"statusCode": 200,
 | 				"status": "Prediction made",
 | 				"result": "The type of iris plant is: " + types[prediction[0]]
 | 				})
Firstly, I used classifier.predict() to get the prediction. Next, I created a map for the classes such that 0 means Iris Setosa, 1 means Iris Versicolour and 2 means Iris Virginica. I finally returned the prediction in the result key.
Update: As pointed out by Martins Untals, I forgot to mention that we also need to update the model so that it works correctly and has the updated model in Swagger UI.
model = app.model('Prediction params',
 | 				  {'sepalLength': fields.Float(required = True,
 | 				  							   description="Sepal Length",
 |     					  				 	   help="Sepal Length cannot be blank"),
 | 				  'sepalWidth': fields.Float(required = True,
 | 				  							   description="Sepal Width",
 |     					  				 	   help="Sepal Width cannot be blank"),
 | 				  'petalLength': fields.Float(required = True,
 | 				  							description="Petal Length",
 |     					  				 	help="Petal Length cannot be blank"),
 | 				  'petalWidth': fields.Float(required = True,
 | 				  							description="Petal Width",
 |     					  				 	help="Petal Width cannot be blank")})
As can be seen in the gist, I’ve updated the field names, their type to Float, description and help text. The same will now be reflected in Swagger too.


Updated model in Swagger UI
Update the UI
The form is made up of columns inside rows. Thus, as I have 4 features, I added 2 columns in 2 rows. The first row will have dropdowns for Sepal Length and Sepal Width. The second row will have dropdowns for Petal Length and Petal Width.
I began by creating a list of options for each of these dropdowns.
var sepalLengths = []
 | for (var i = 4; i <= 7; i = +(i + 0.1).toFixed(1)) {
 |   sepalLengths.push(<option key = {i} value = {i}>{i}</option>);
 | }
 | var sepalWidths = []
 | for (var i = 2; i <= 4; i = +(i + 0.1).toFixed(1)) {
 |   sepalWidths.push(<option key = {i} value = {i}>{i}</option>);
 | }
 | var petalLengths = []
 | for (var i = 1; i <= 6; i = +(i + 0.1).toFixed(1)){
 |   petalLengths.push(<option key = {i} value = {i}>{i}</option>);
 | }
 | var petalWidths = []
 | for (var i = 0.1; i <= 3; i = +(i + 0.1).toFixed(1)) {
 |   petalWidths.push(<option key = {i} value = {i}>{i}</option>);
 | }
Next, I defined two rows with two columns each. Each dropdown selection will look like the code below:
<Form.Group as={Col}>
 |   <Form.Label>Petal Length</Form.Label>
 |   <Form.Control
 |     as="select"
 |     value={formData.petalLength}
 |     name="petalLength"
 |     onChange={this.handleChange}>
 |     {petalLengths}
 |   </Form.Control>
 | </Form.Group>
For each dropdown, we’ll have to update the text inside <Form.Label></Form.Label>. We’ll name each selection group as well. Let’s say the name be petalLength so we set the value as {formData.petalLength} and name as “petalLength”. The options are added using the names we defined above inside <Form.Control></Form.Control> as we can see {petalLengths} above. Two such groups inside a <Form.Row></Form.Row> will make our UI.
The state must also be updated with the same names inside formData with the default values as the smallest value of the respective dropdowns. The constructor will look like below. As you can see, the state has been updated to have formData with new keys.
constructor(props) {
 |   super(props);
 |

 |   this.state = {
 |     isLoading: false,
 |     formData: {
 |       sepalLength: 4,
 |       sepalWidth: 2,
 |       petalLength: 1,
 |       petalWidth: 0
 |     },
 |     result: ""
 |   };
 | }
Add a new background image and title
Inside app.css, change the link of the background image to your own. I added an image of flowers from Unsplash. I also updated the title to Iris Plant Classifier and the page title too inside index.html file in the public folder.
Result
The application is now ready to use the model. Restart both services after building the UI using npm run build. The application looks like below:
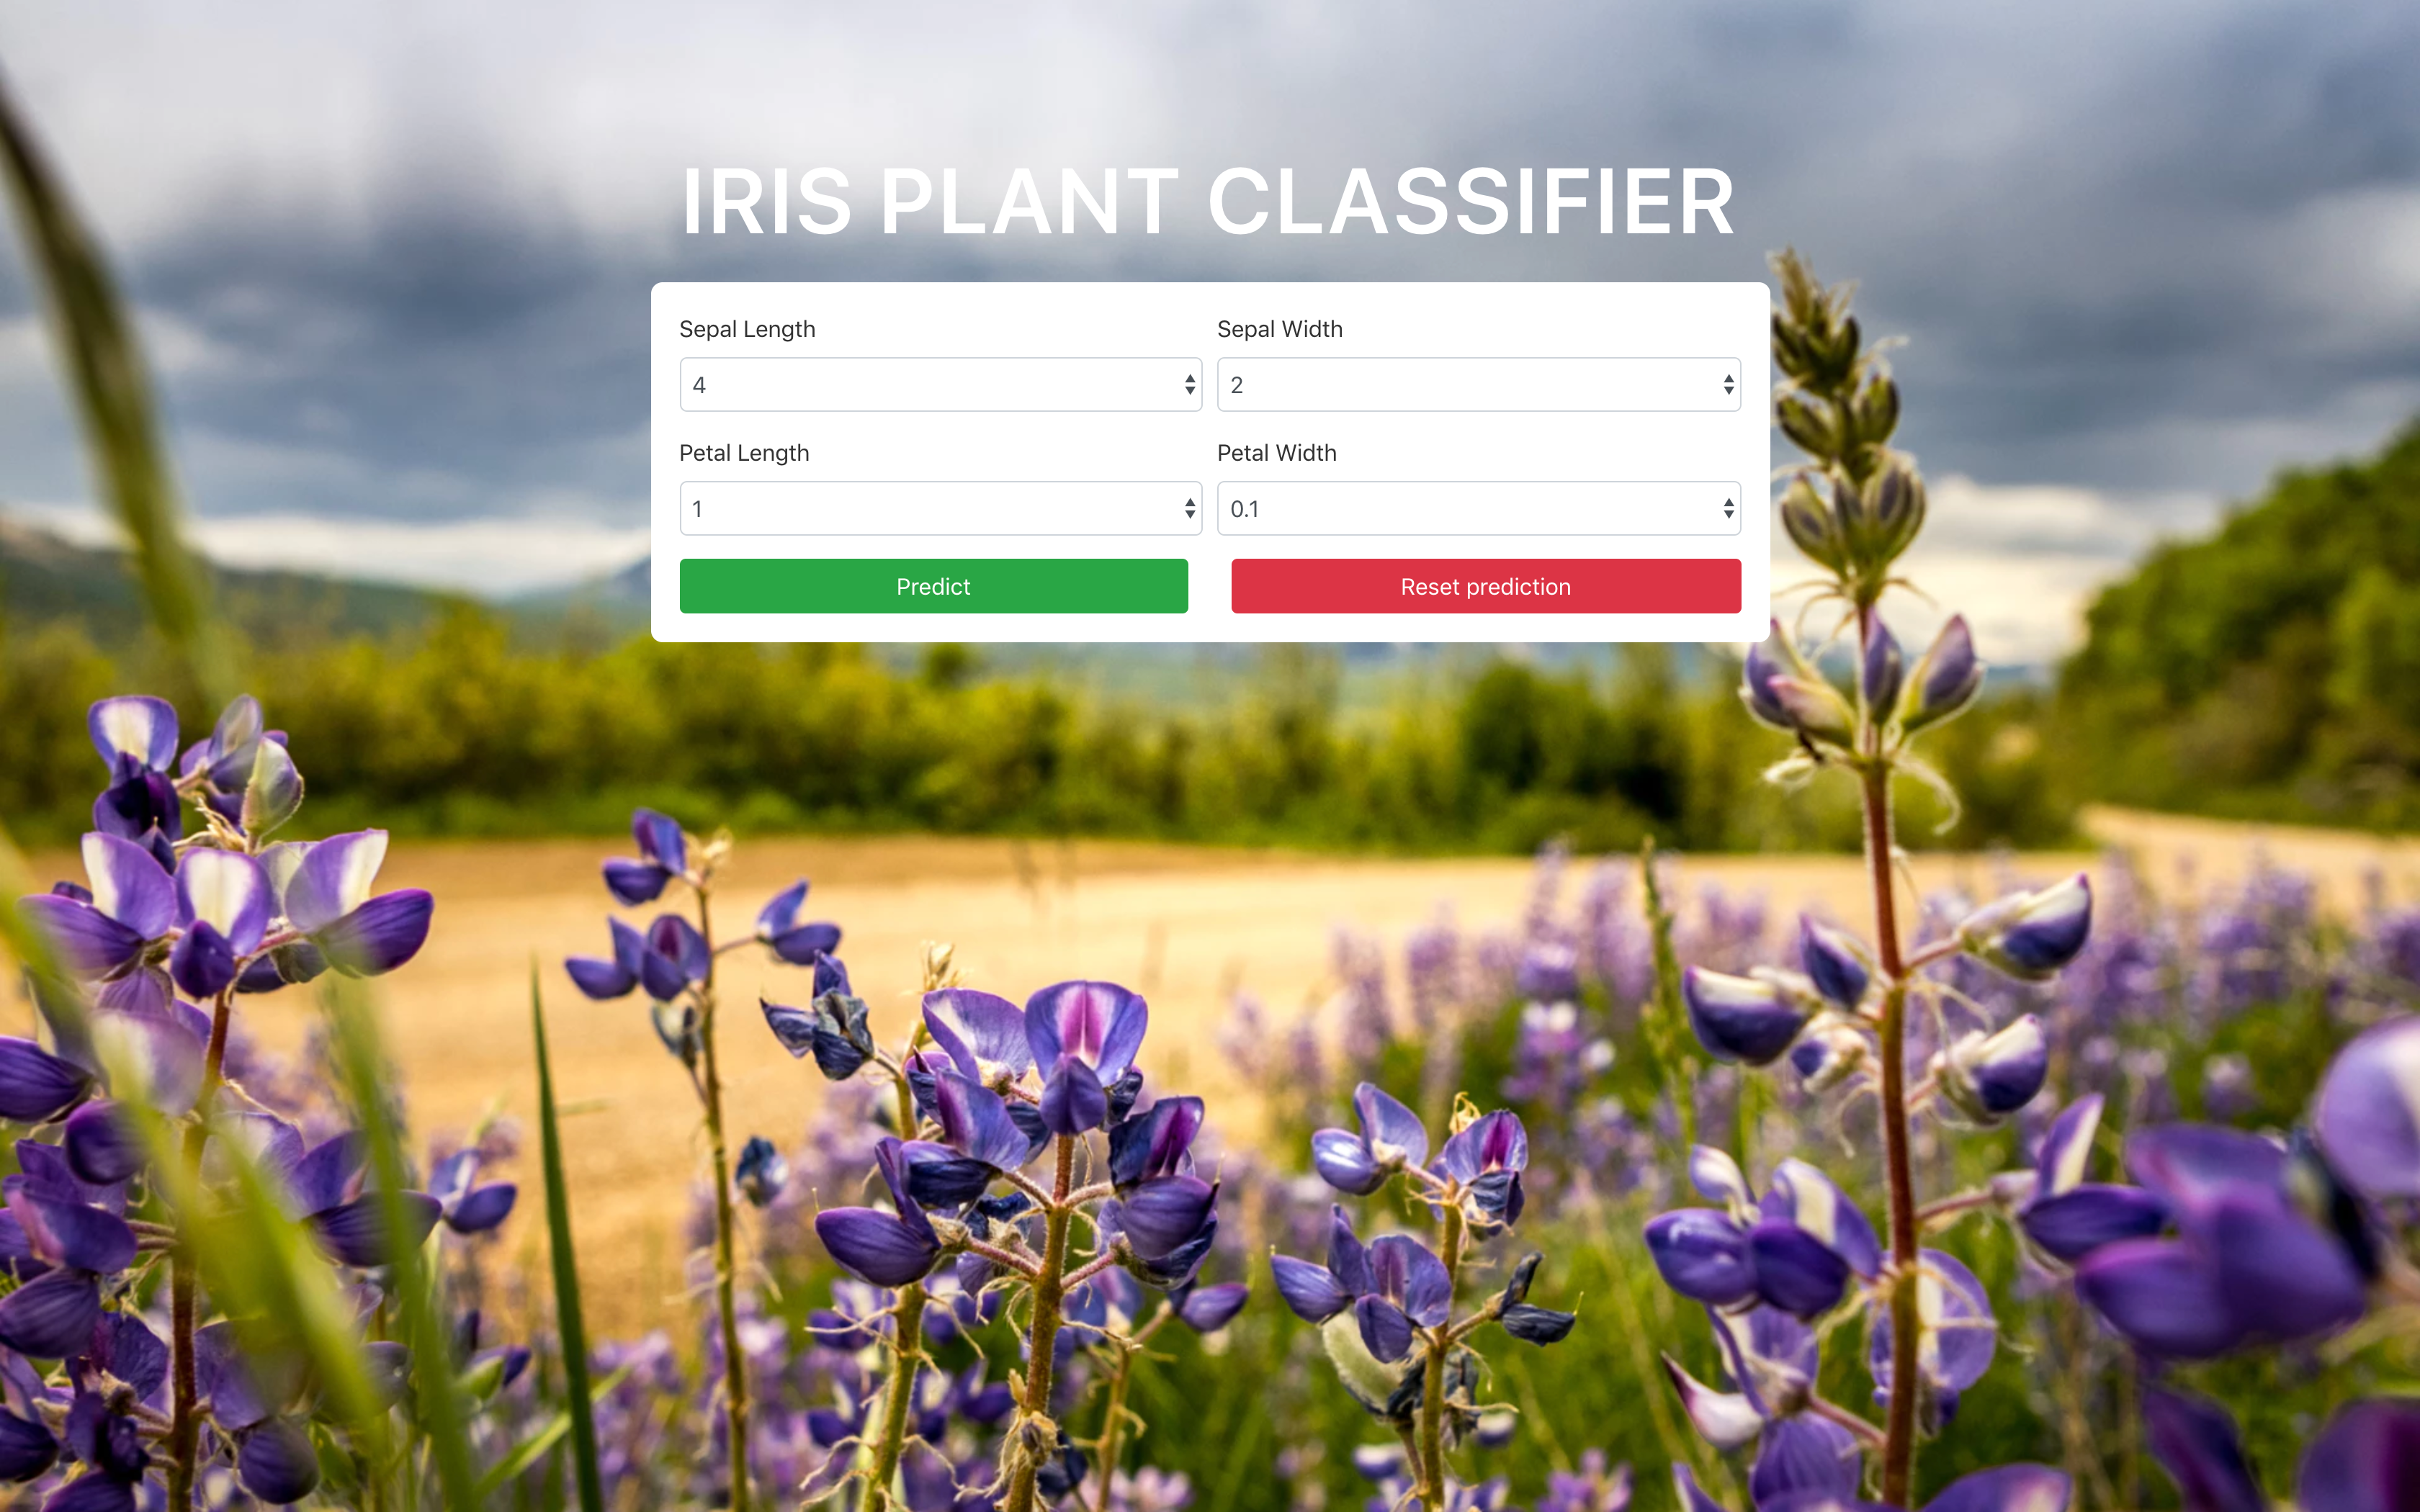
Main Page
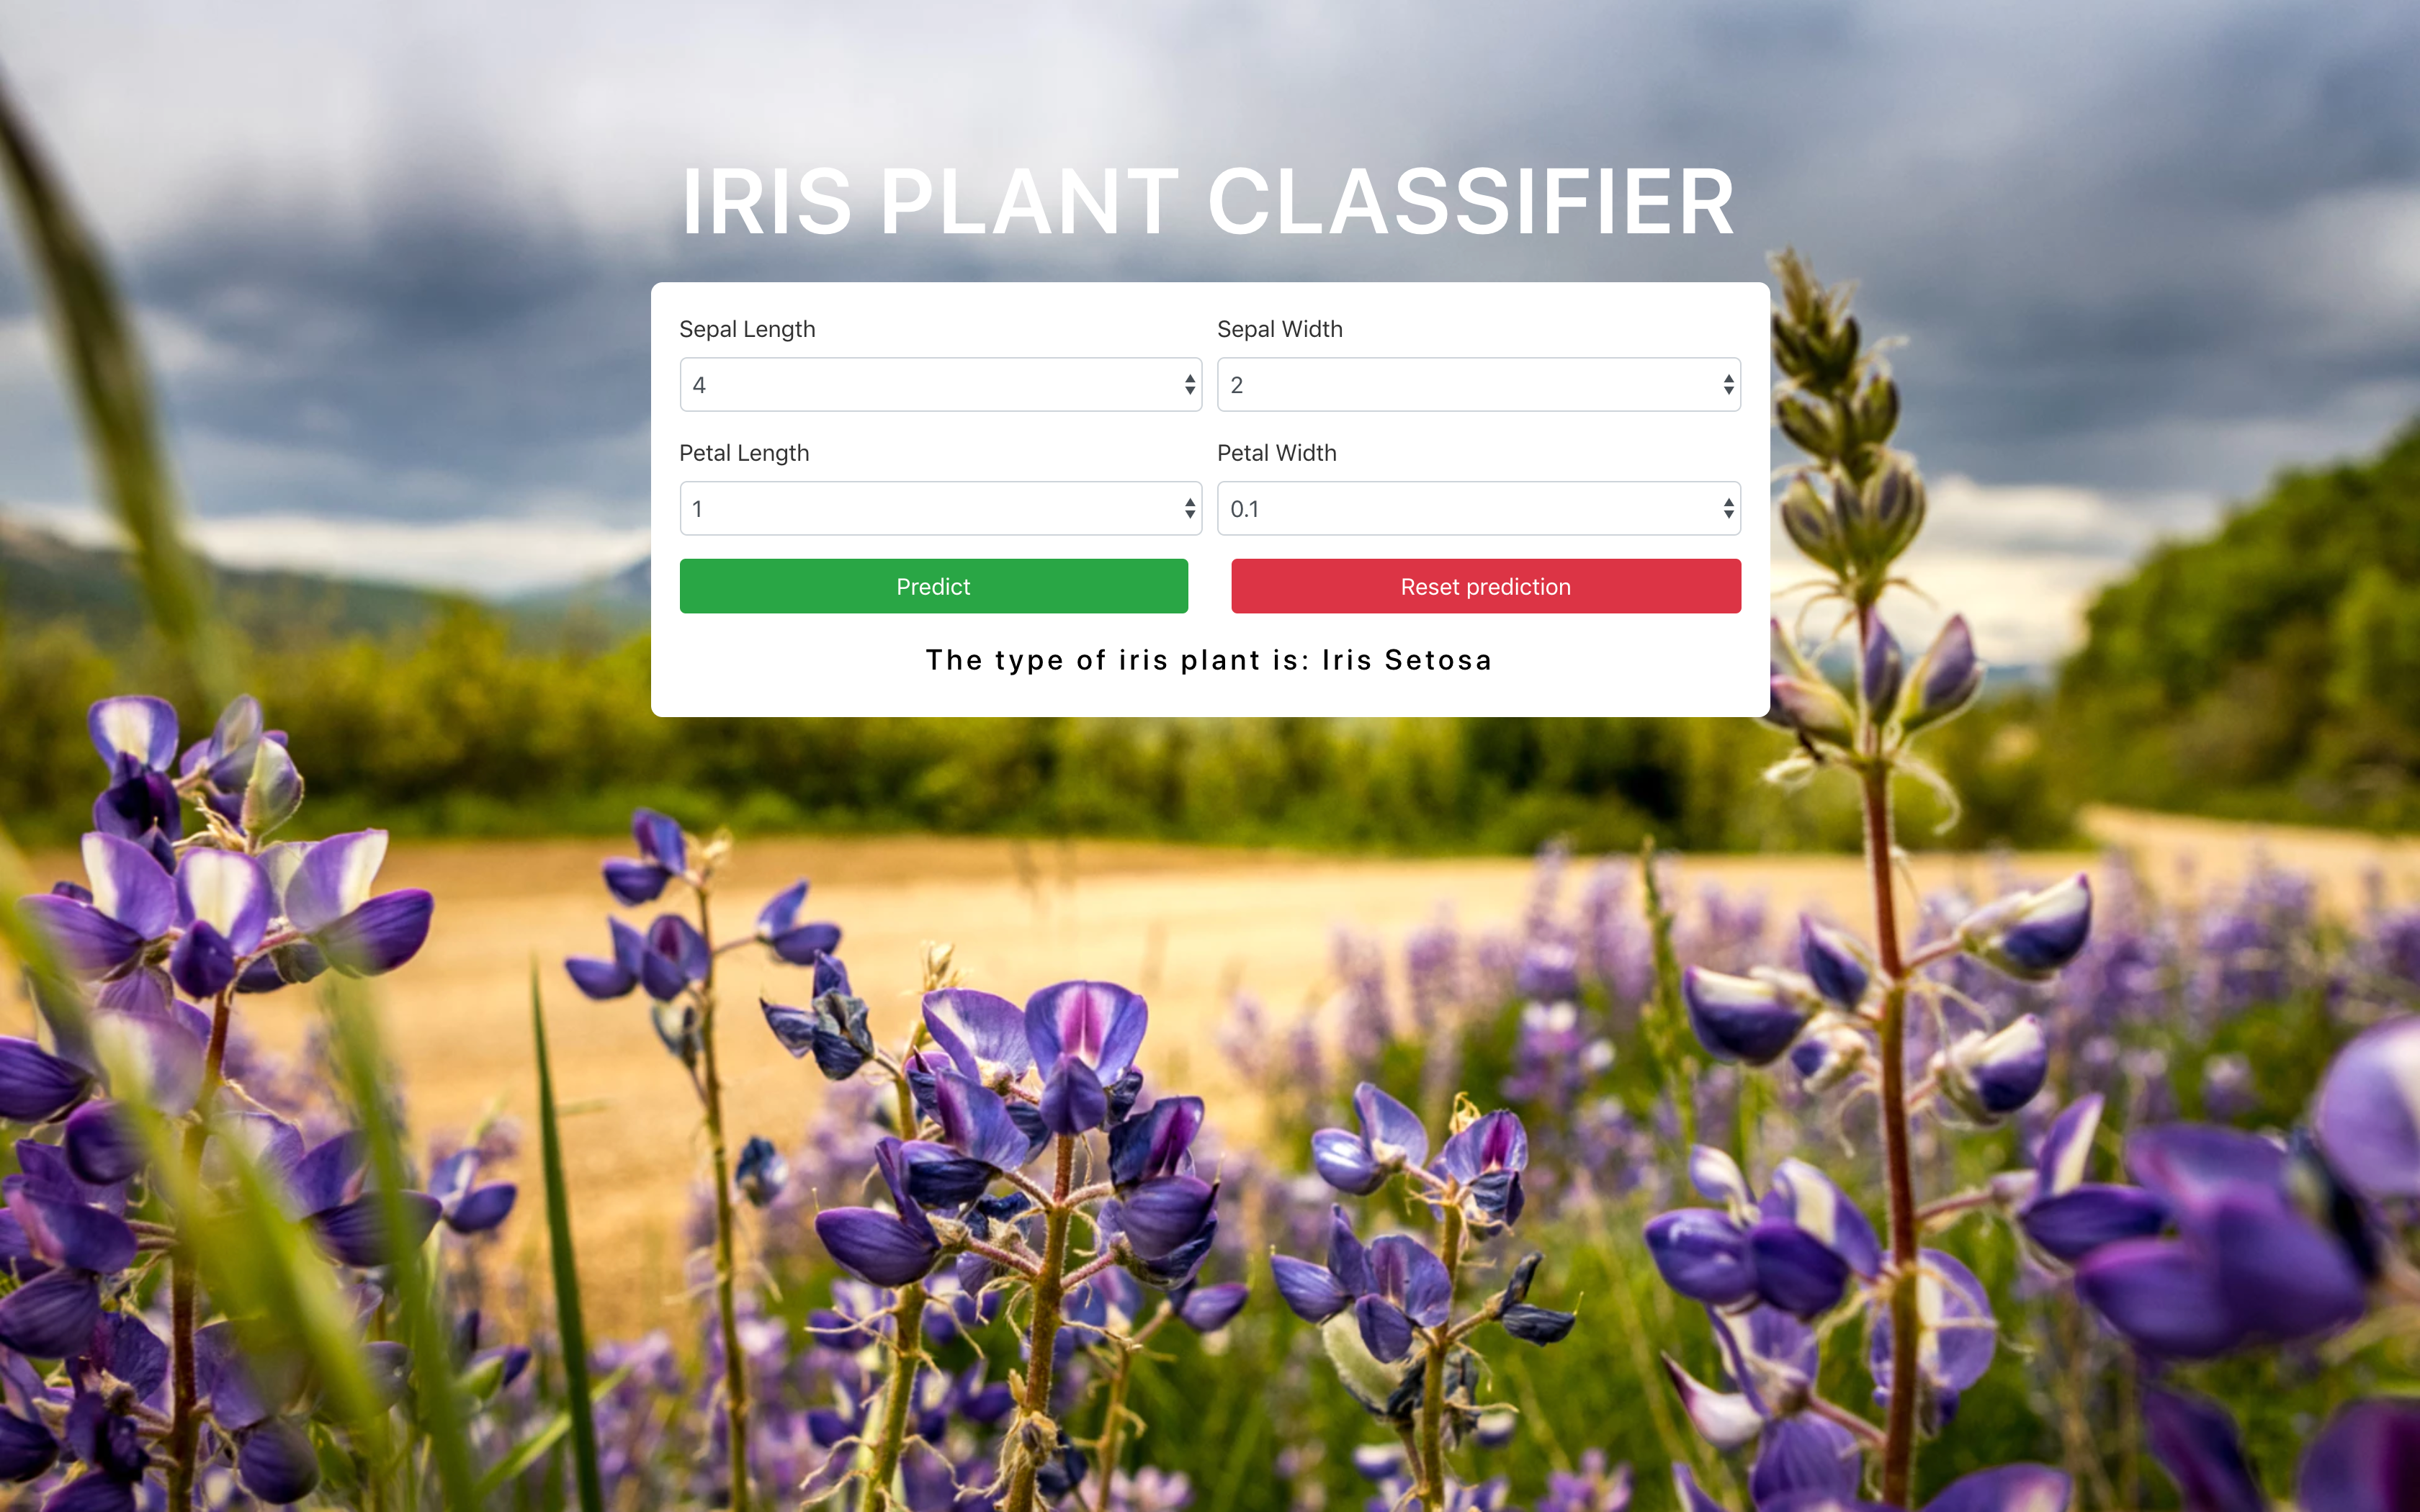
With some feature values, on pressing the Predict button, the model classifies it as Iris Setosa.
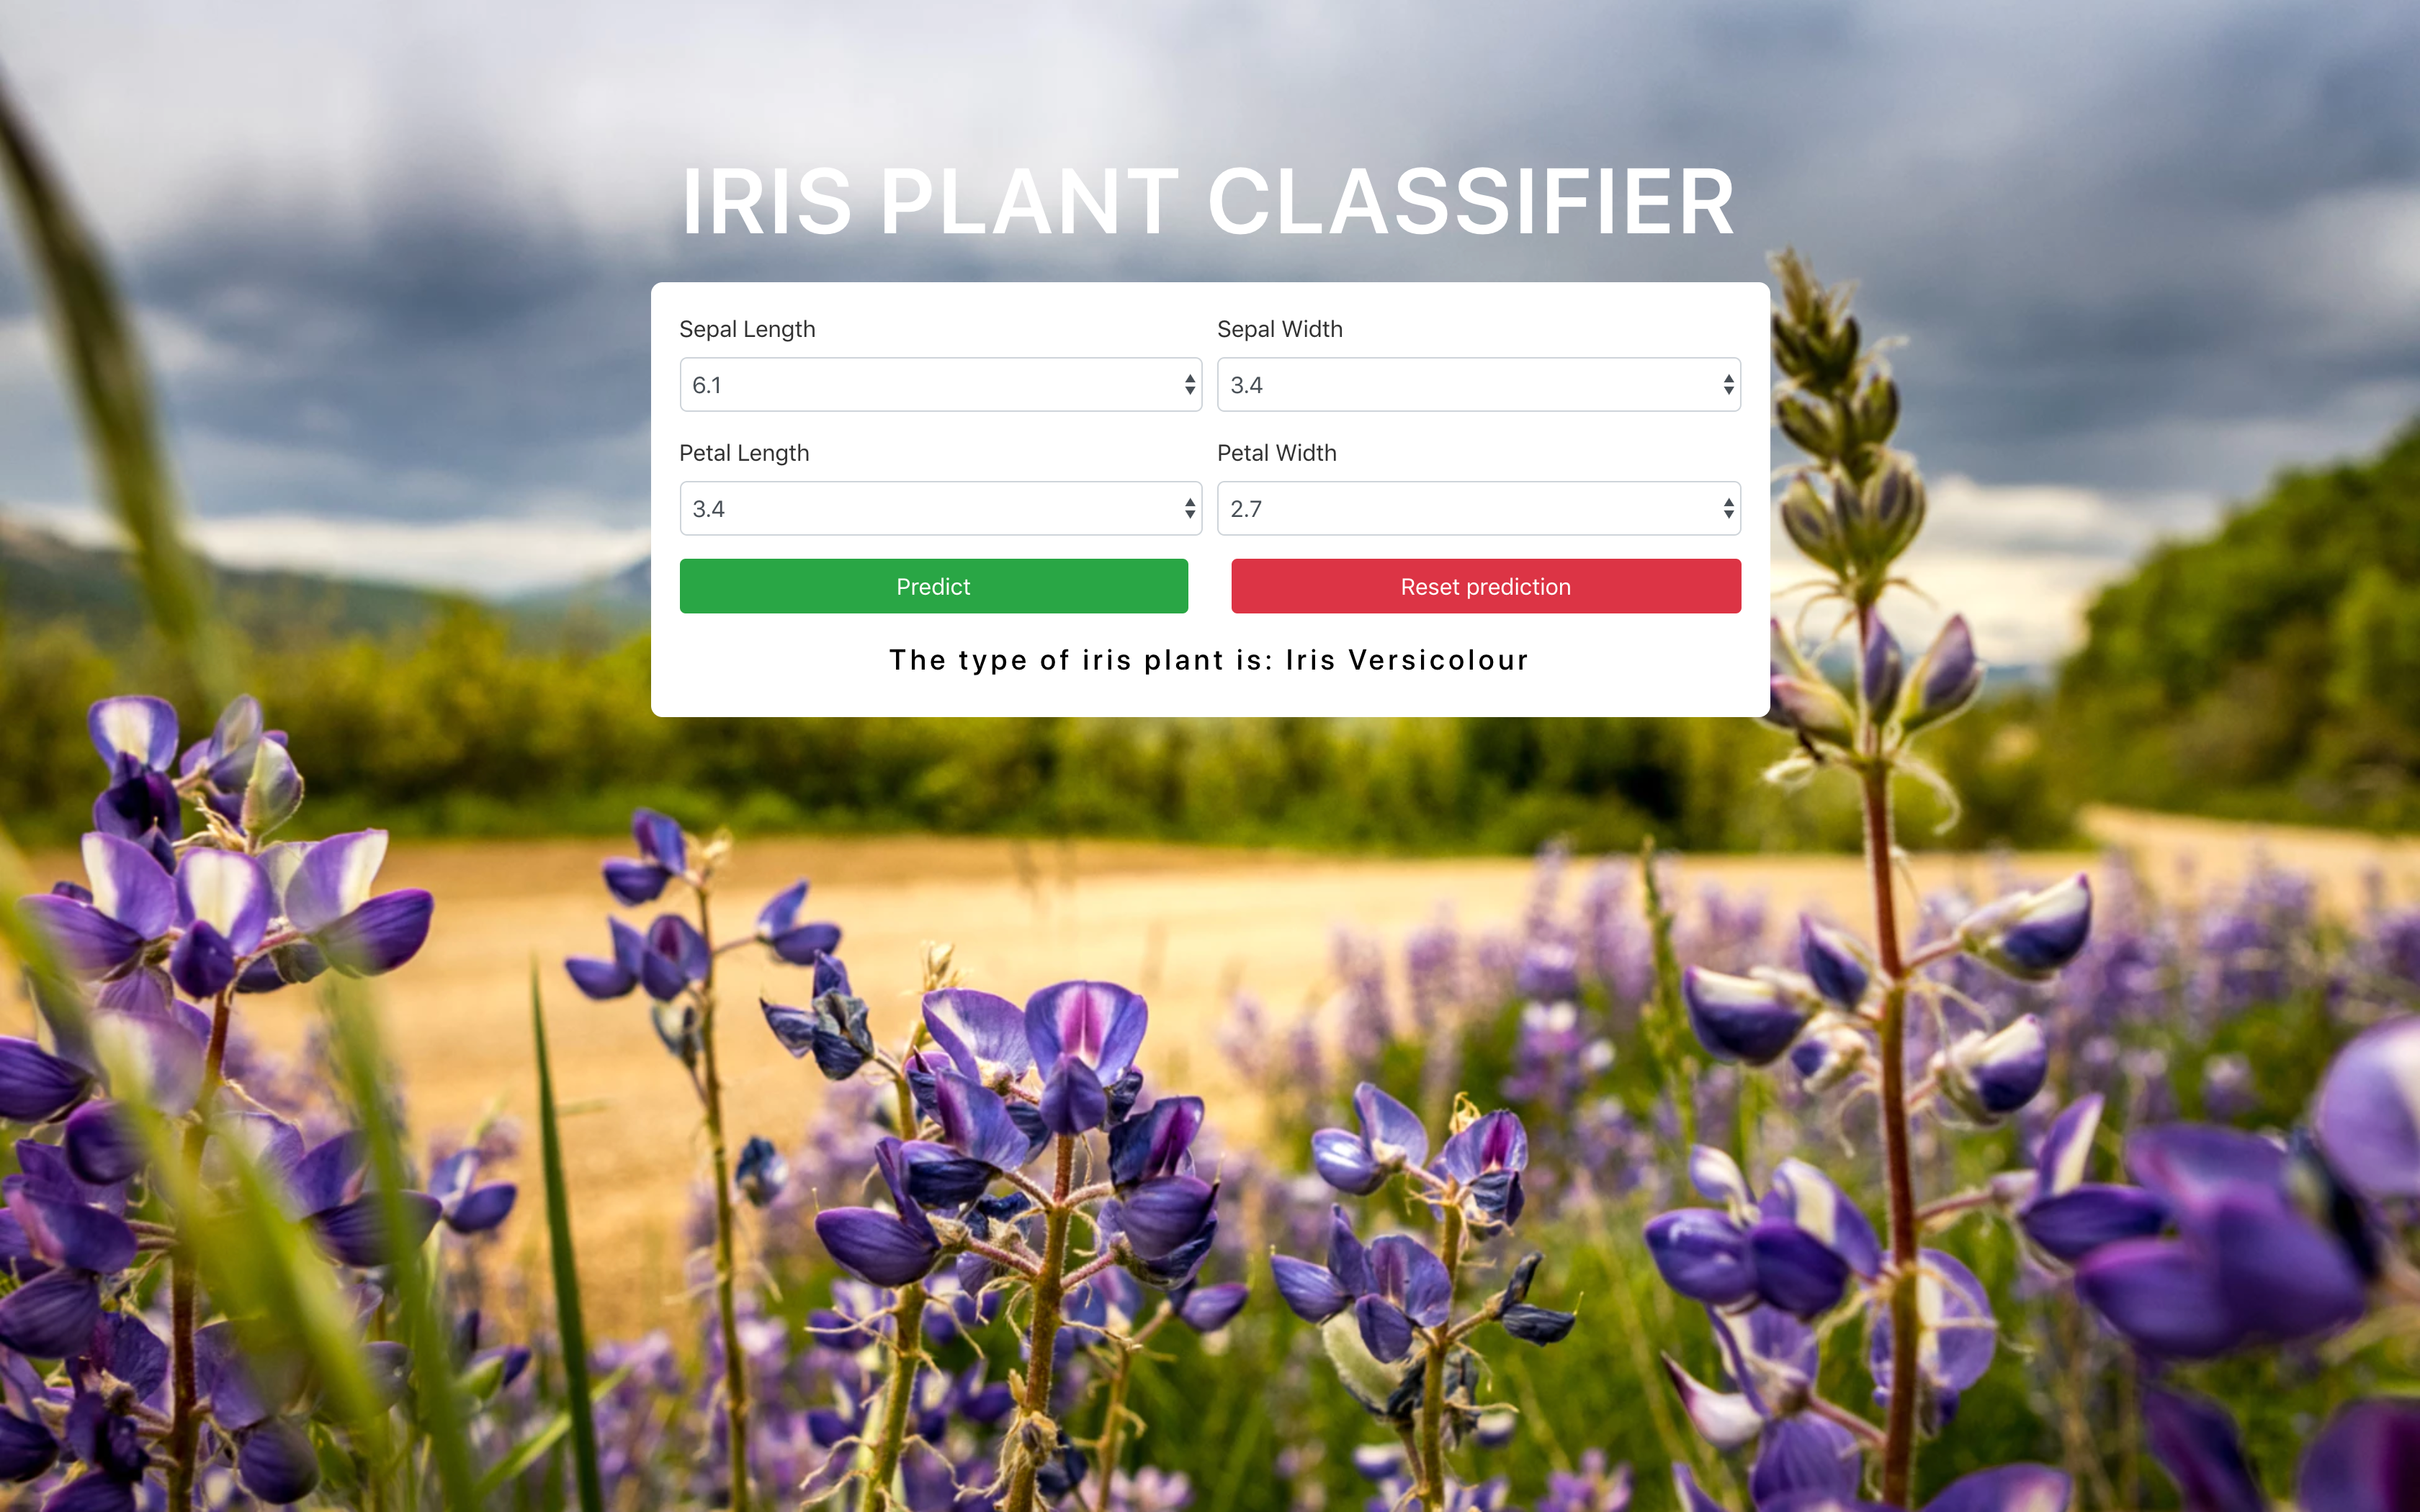
With new feature values, the model predicts the plant to be Iris Versicolour.
Conclusion
As you can see, in this article, I discussed a ML React App template that will make creating complete ML applications simple and quick.


